Good morning, everyone!
It is time to journey into the world of romance and medieval foliage! I would like to share with you what went into the painting of "Love Upon Grassy Hills". Here is a little breakdown of that journey through the lands of romance and medieval plants.
Let us begin.
SKETCHING STAGE
We begin as we always do…. with sketches. I like to sketch with 6B pencils on smooth printer paper because it feels like drawing with butter. I love it. And the sheets of paper take the pressure off these drawings really needing to be any good. These are just studies so let us add no pressure! Using reference, I sketch each character a few times in the attempts to capture their likenesses in the simplest of lines and shapes. Sometimes we get lucky and the likeness comes quickly while other times I struggle through many drawings and ultimately allow myself to move on to try again at a later stage. These sketches are quite loose and enjoyable for me to create. It feels like a game or a puzzle to solve. I sketch the environmental elements like buildings and plants and try to simplify those shapes in a similar fashion. For the overall composition of the piece, I sketch many little thumbnails to see how these elements might fit together.
COMPUTER COMPOSITION STAGE
Once I have amassed enough sketches, I gather them all together and scan them into my computer to bring into Photoshop in order to compose the piece. I isolate the linework and cut every little sketch out and piece them together like a puzzle over the rough thumbnail sketch I decide to go with as the overall composition. I use this opportunity to compare the little sketches to choose the best likenesses and redraw where I need to. I use a Cintiq, so I can just draw right onto the screen. Everything is quite rough at this stage. I like to keep it loose and tighten things in the painting stage. I add rough values to help me differentiate the areas.
PRINTOUT AND TRACE STAGE
Once the composition is complete, I print the drawing out and tape the pieces together. I use a light board and trace the drawing lightly onto Arches rough watercolor paper with a 4H pencil.
INITIAL COLOR STAGE: The Characters!
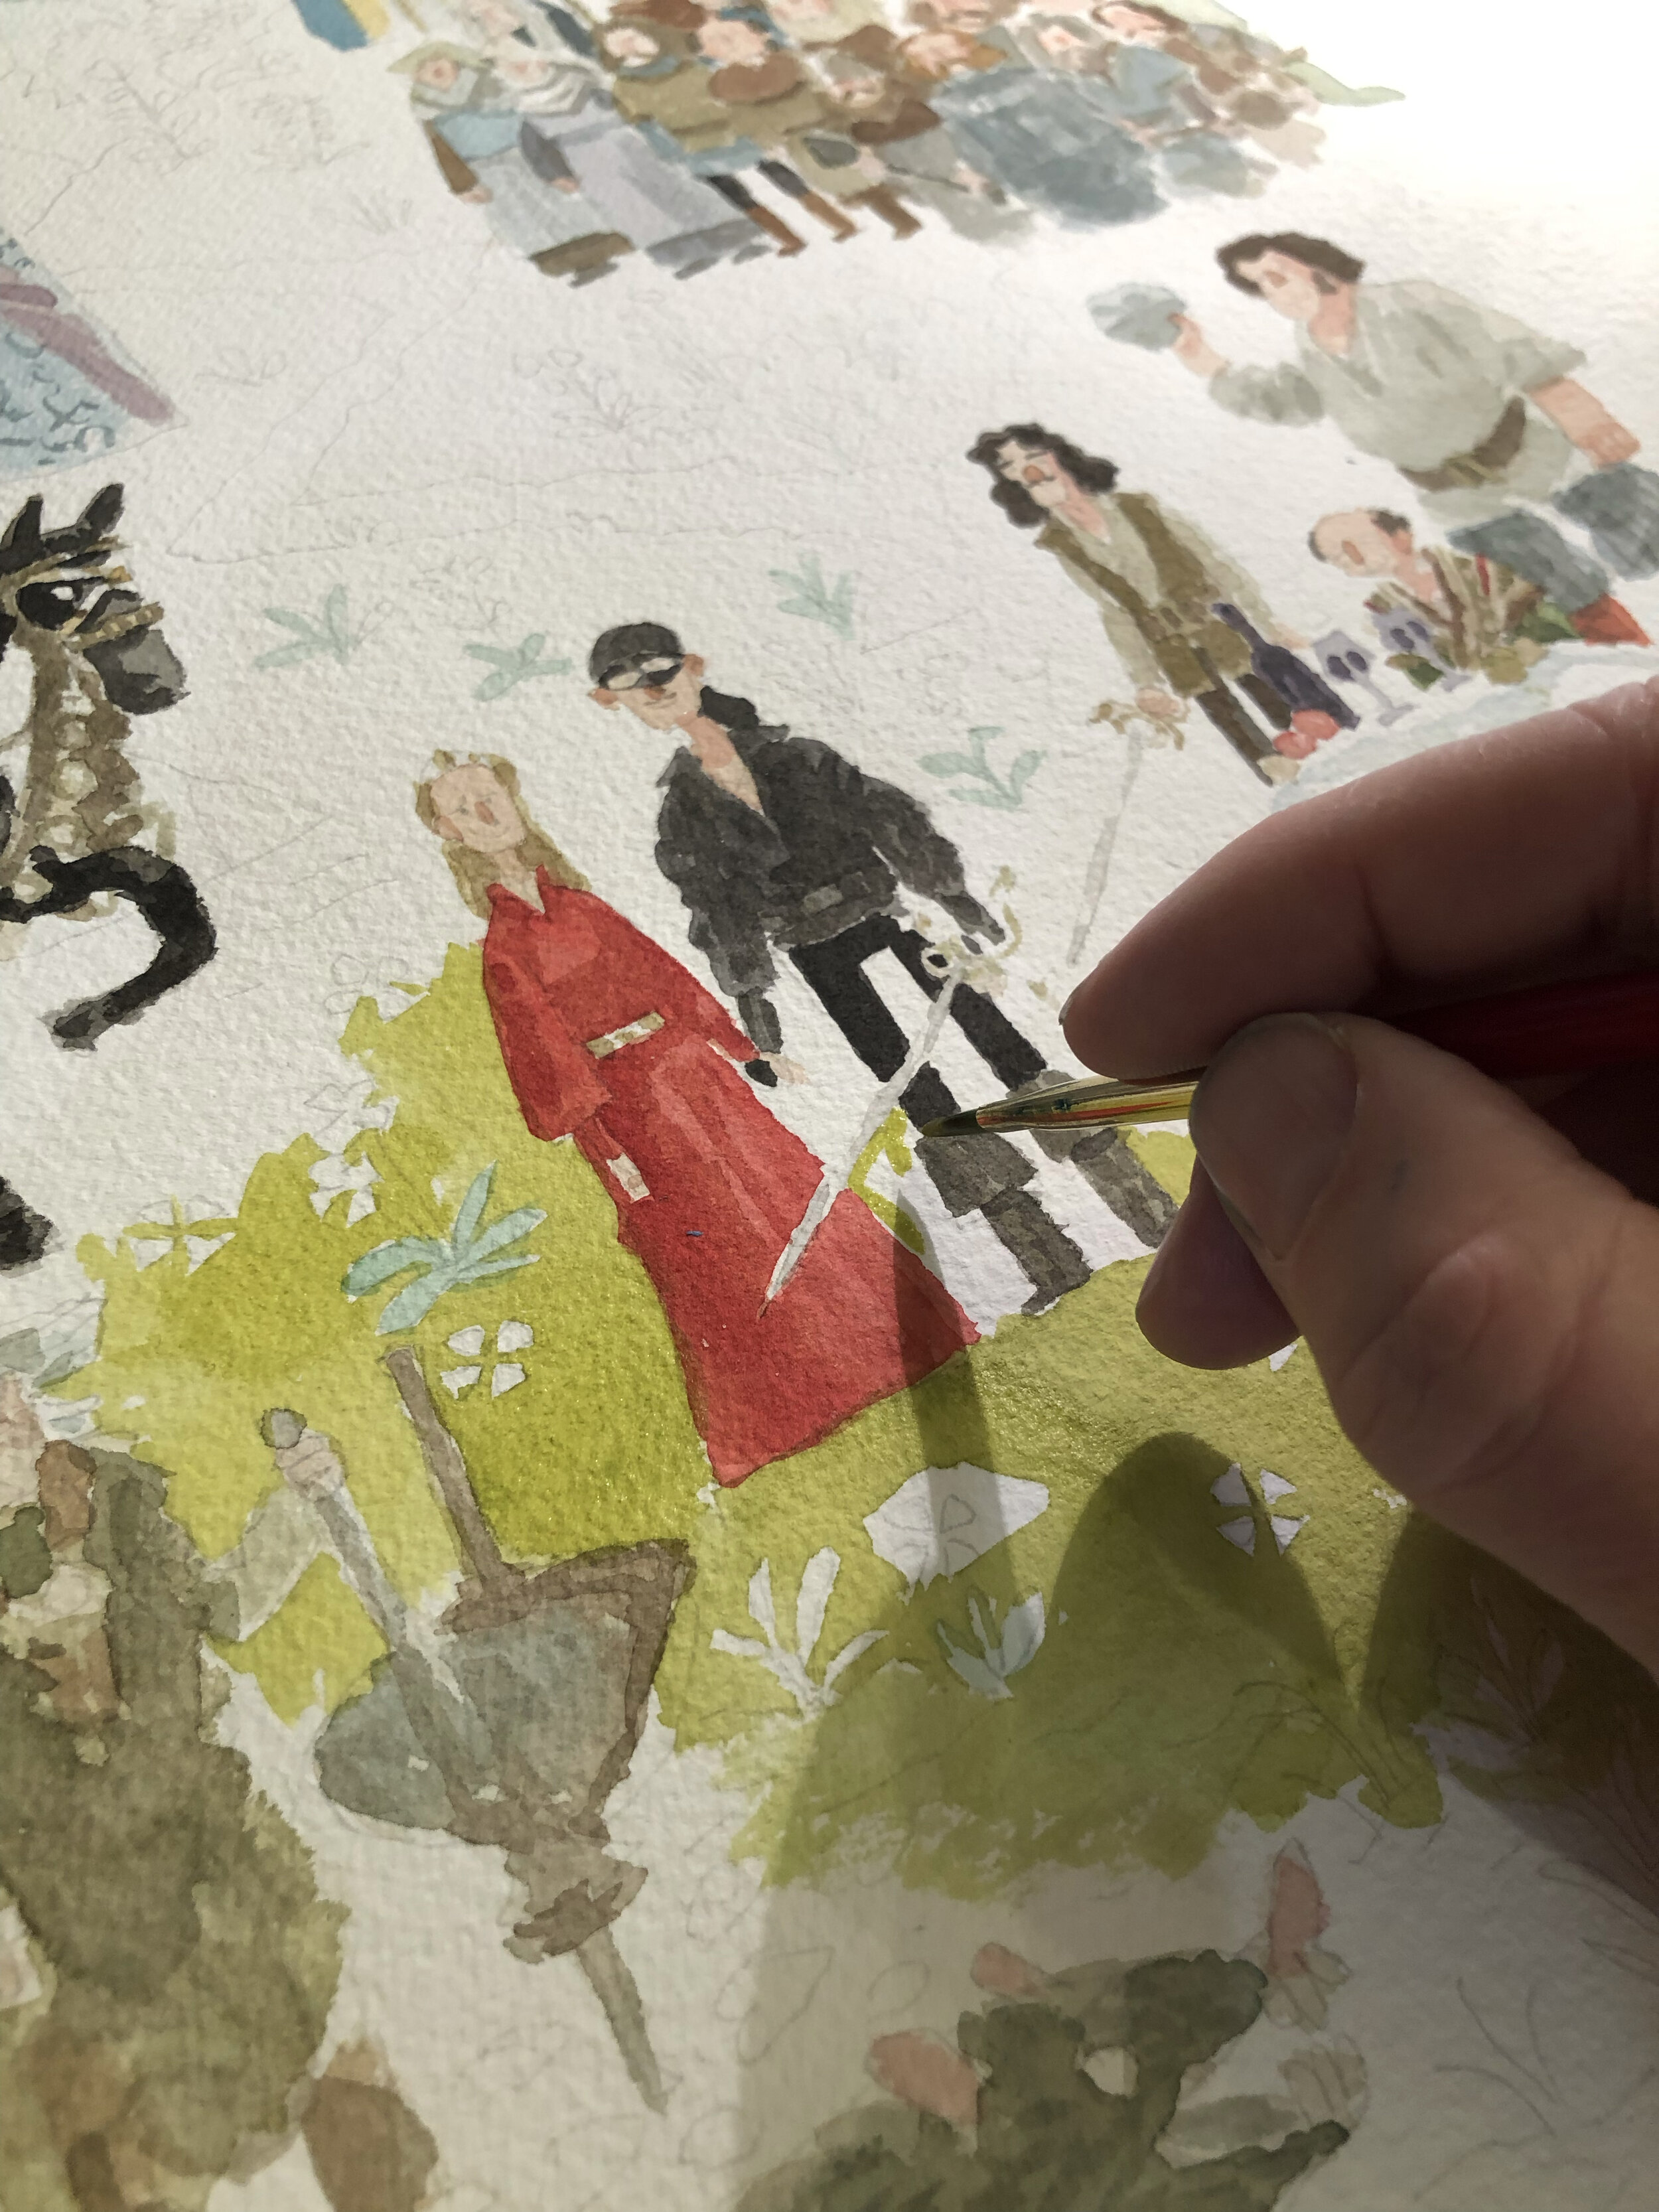
I set up my painting tools: Winsor Newton watercolors on an old plate as a palette, a mug of water, a stack of paper towels, a few scratch pieces of watercolor paper, one larger flathead paintbrush, one medium flathead brush, and one #4 Cat’s Tongue brush. I always start by painting the colors of the characters because I find it easier to paint the background around them. Masking fluid might make this job easier, but I am too lazy to use it. The characters look chunky and messy at this stage while their silhouettes are fairly clear.
BACKGROUND COLOR STAGE
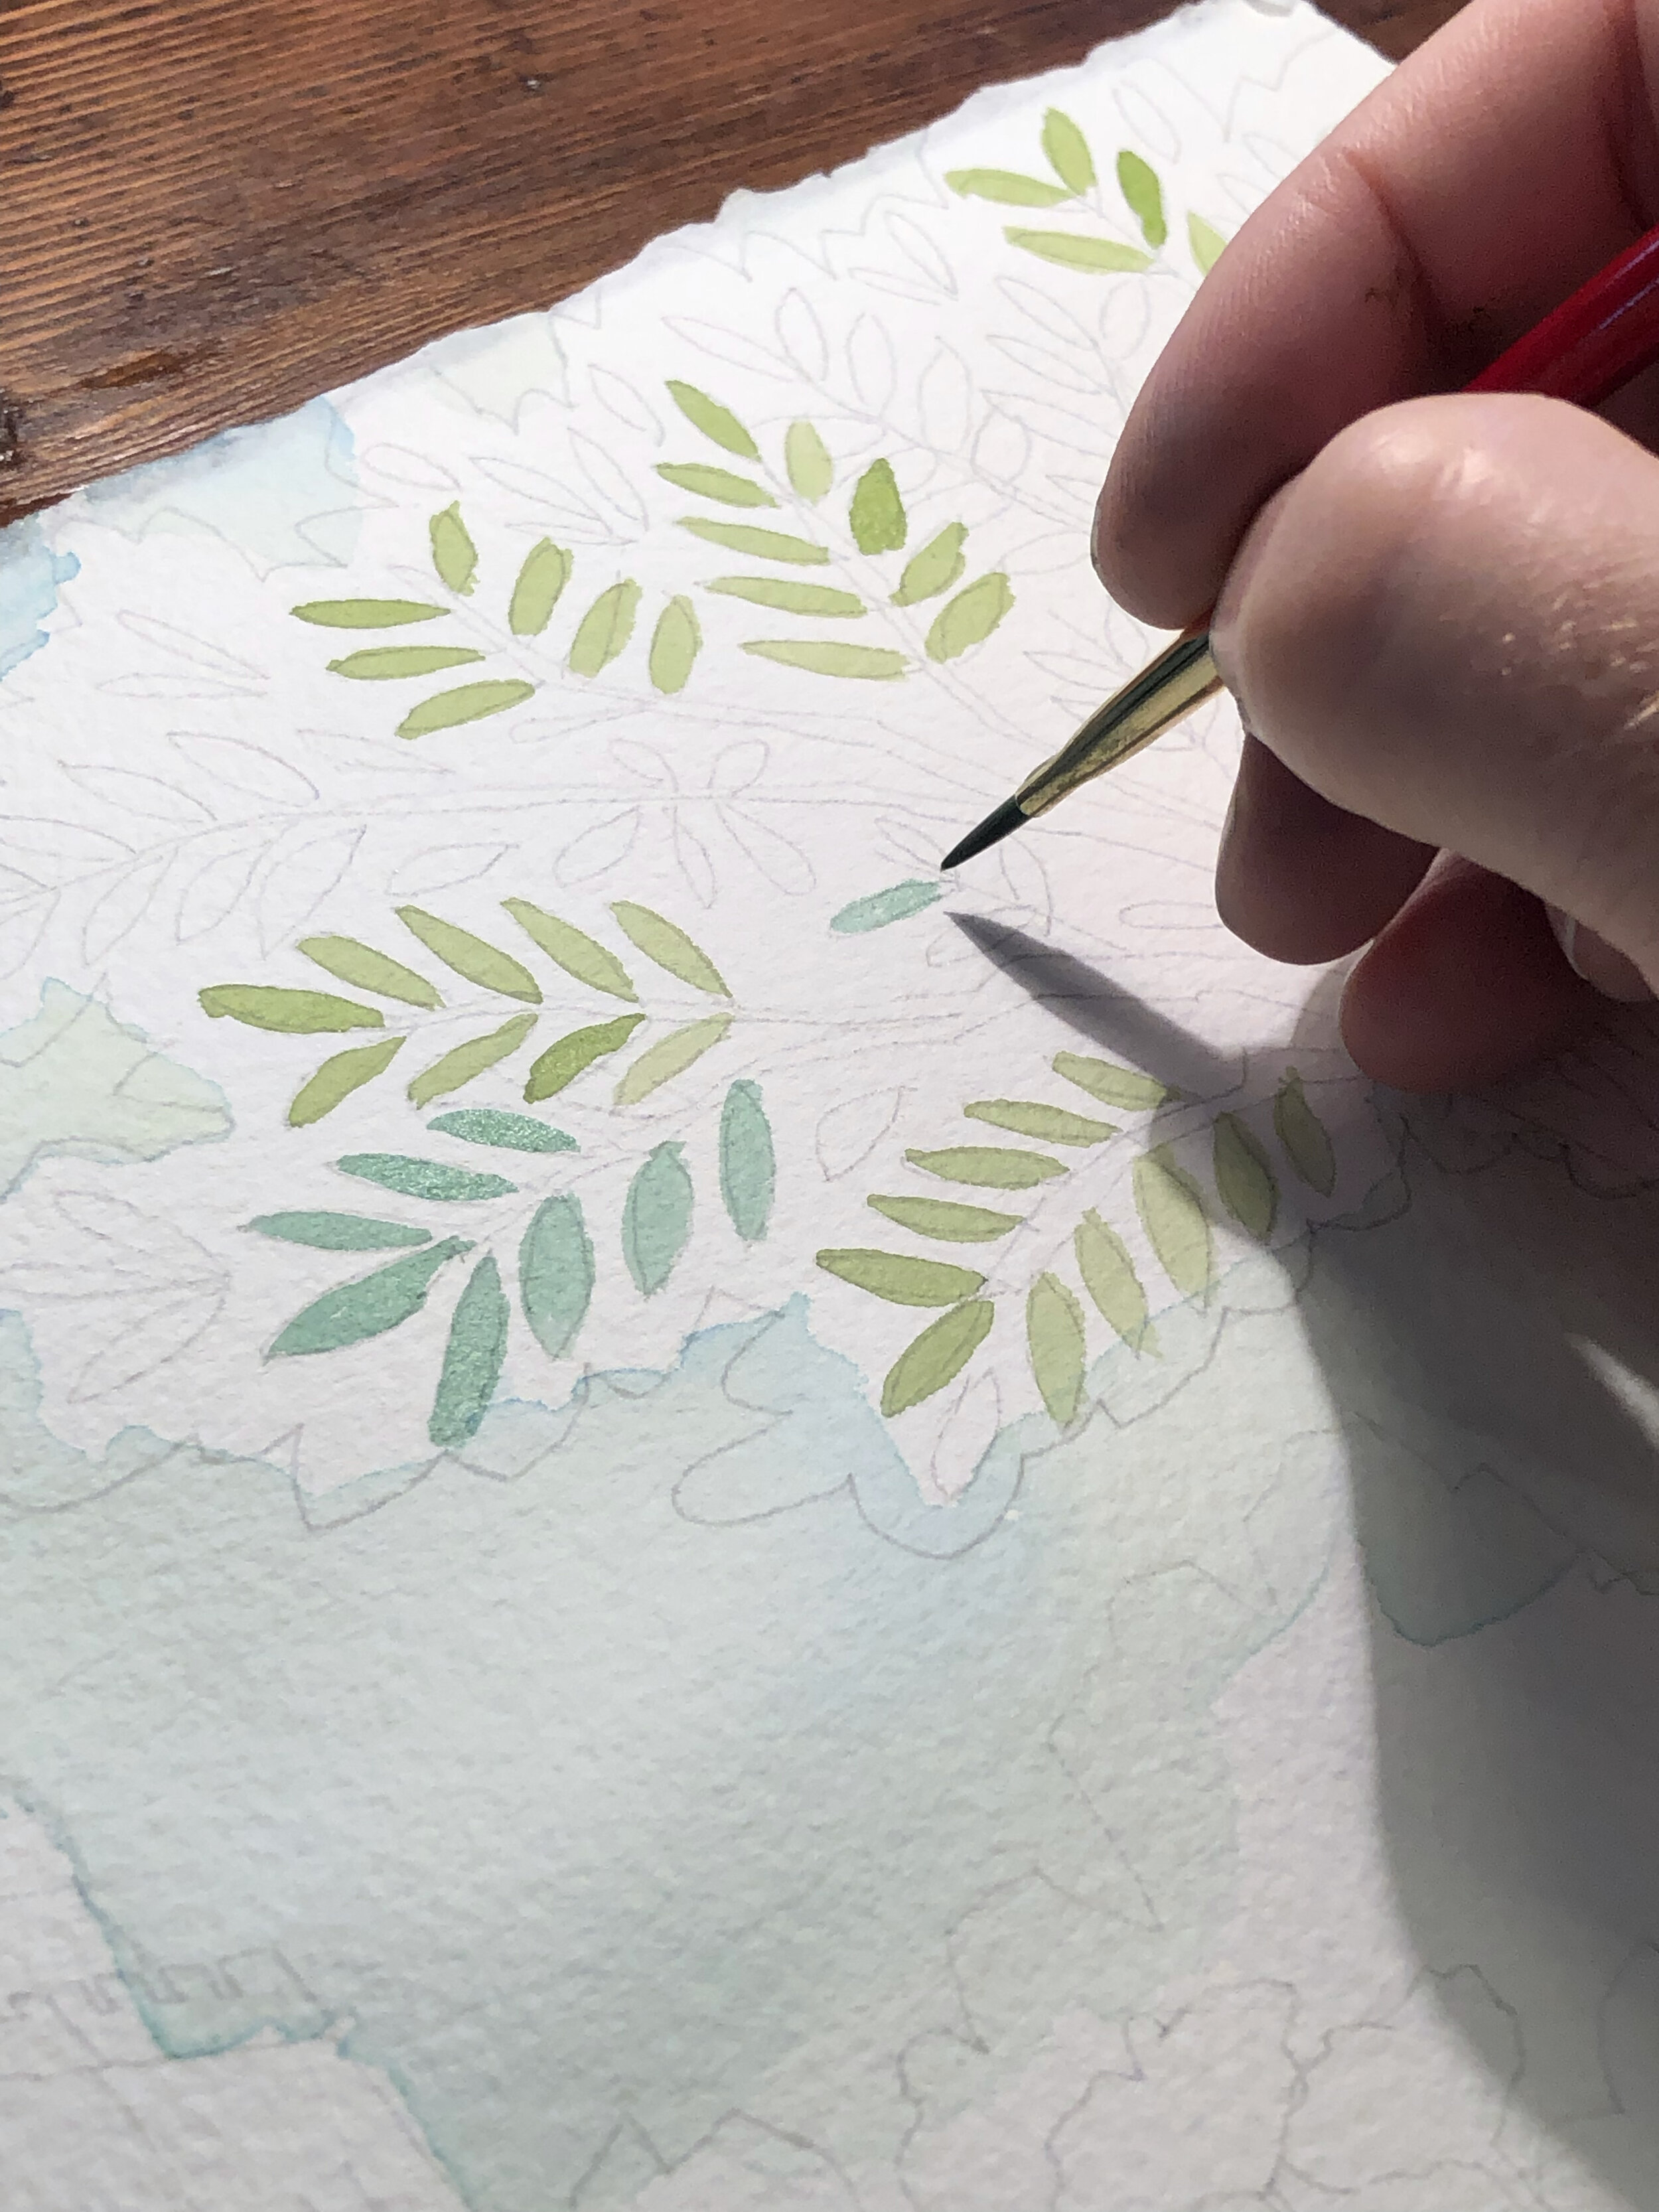
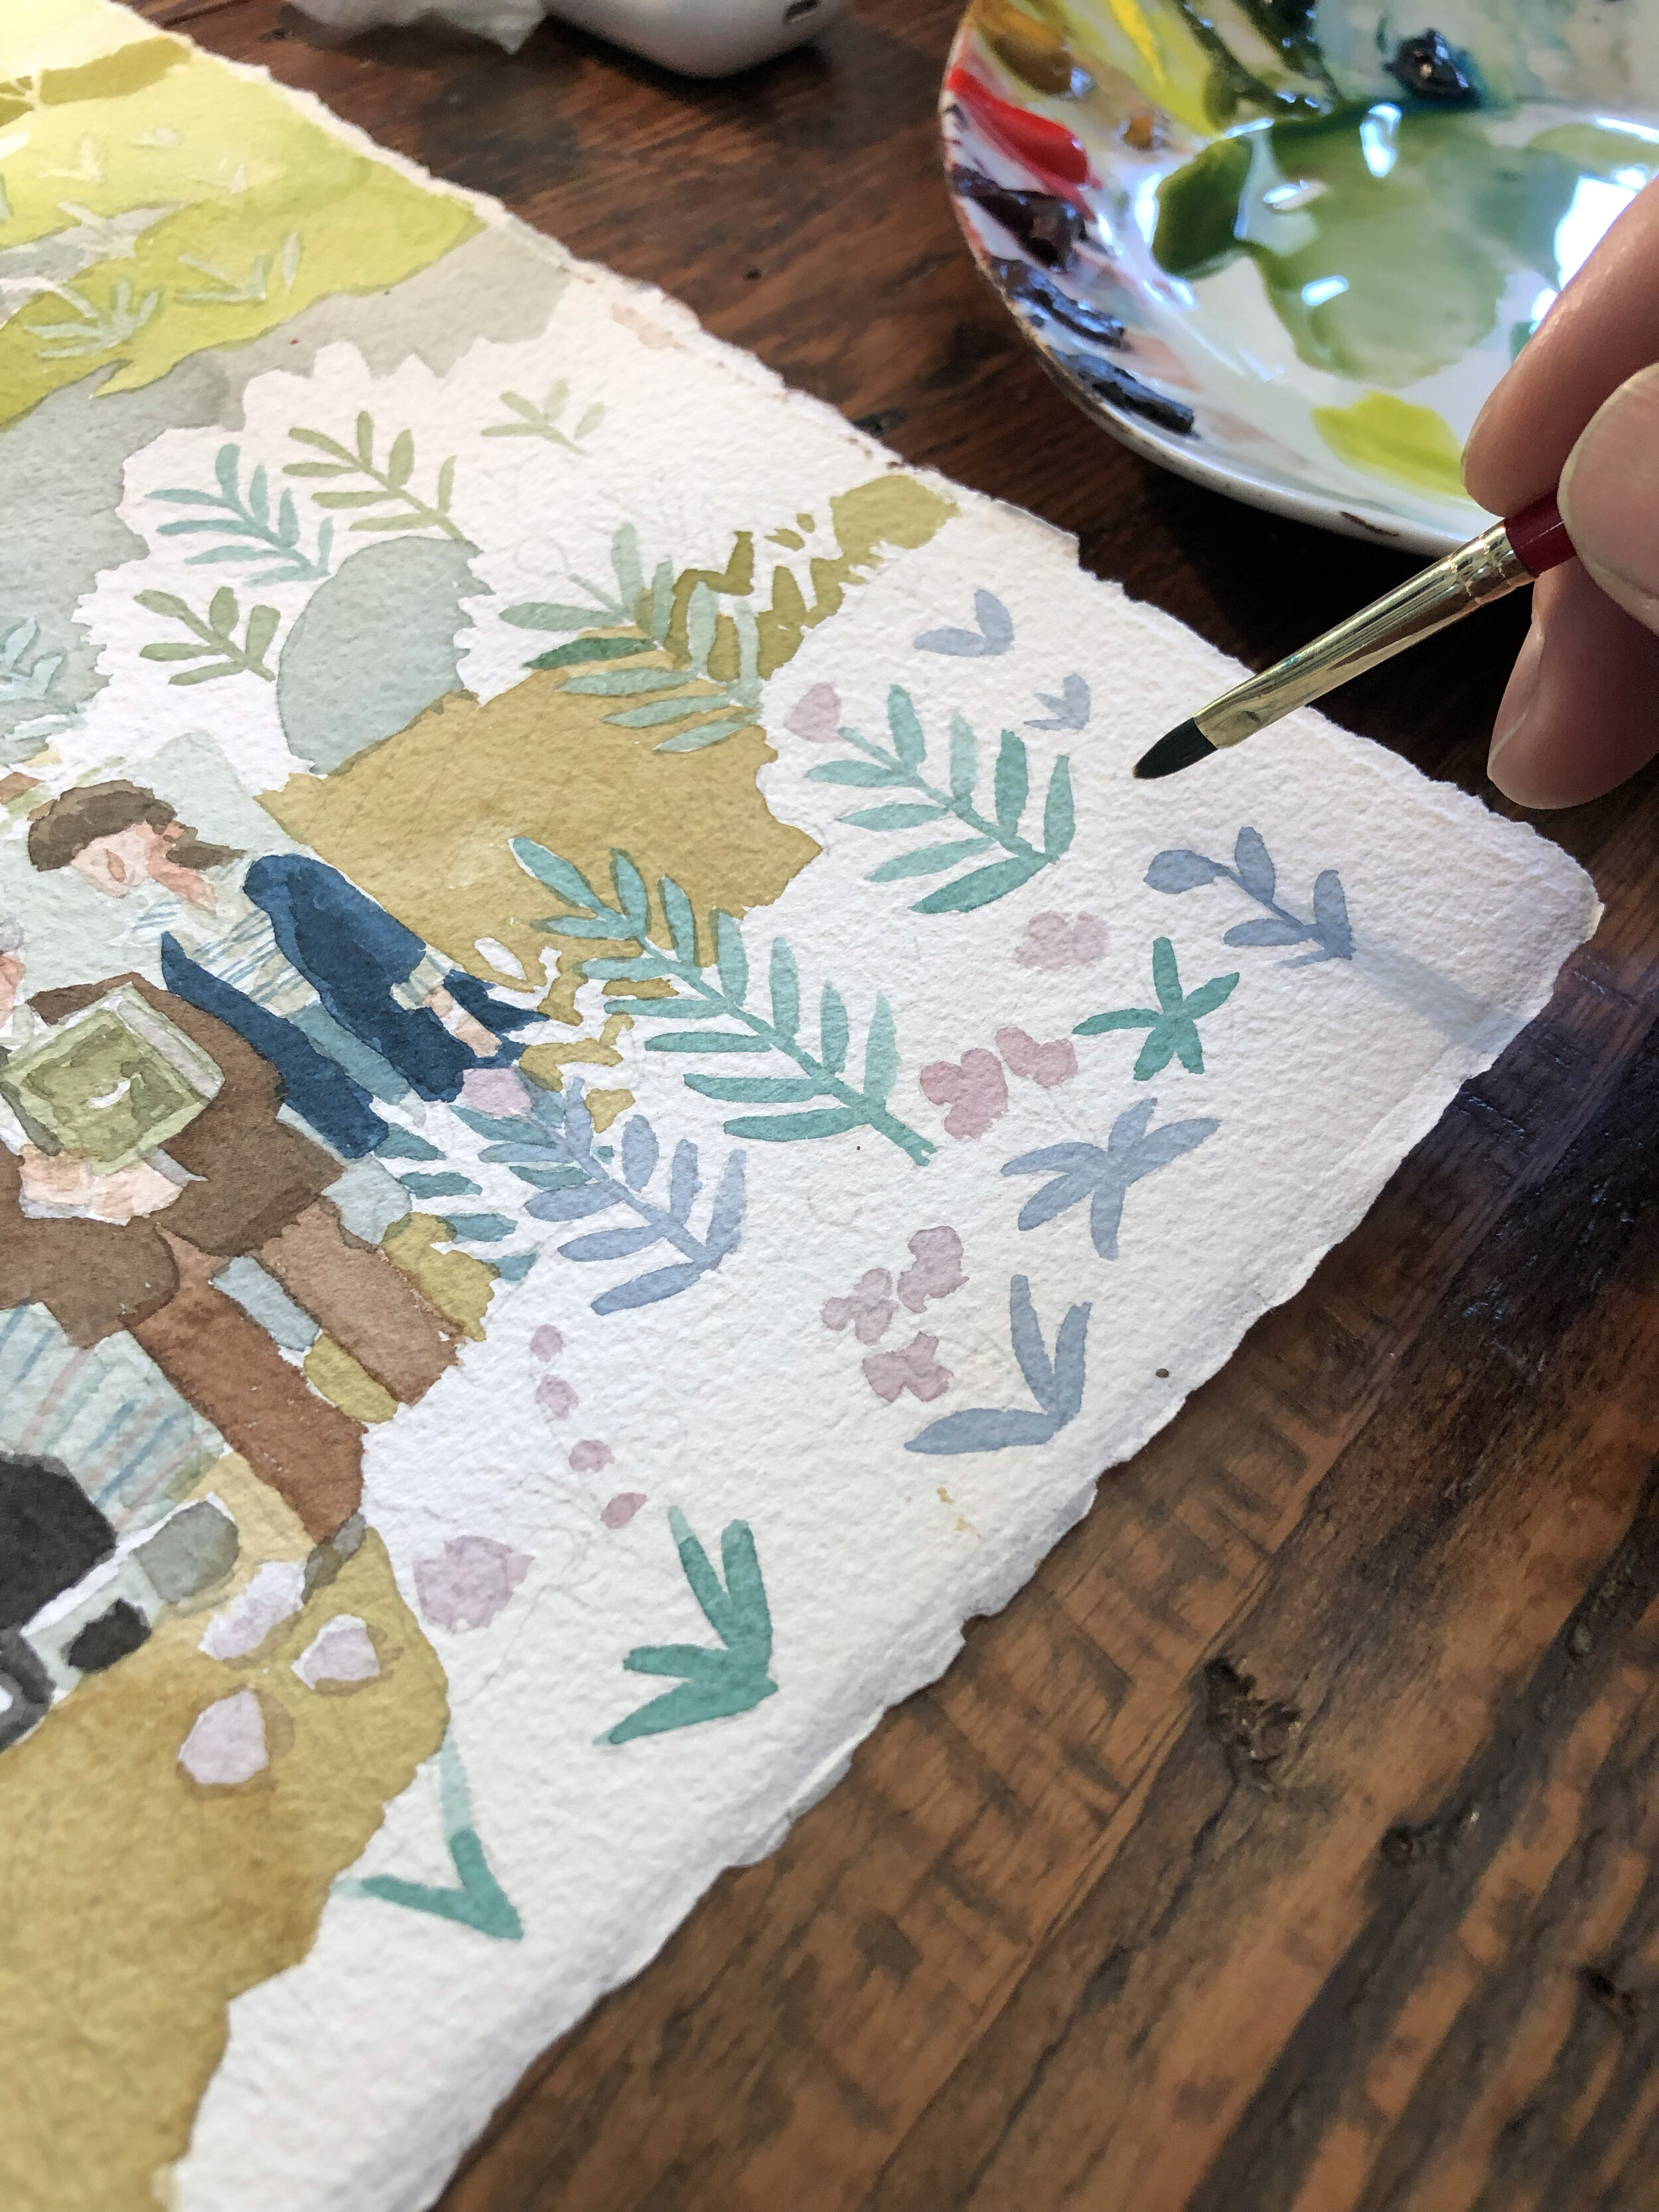
Now it is time to paint the background colors. I paint swatches of colors on a piece of scratch paper to settle on the color scheme I would like to go with. I start from the back and paint my way to the foreground. I paint the sky first then the tree line and hilltops in the back. There is a blueish atmosphere to these background elements closest to the sky. The Grass and bushes get darker and more saturated as we make our way to the bottom and foreground of the painting. Again, masking the leaves and small bushes would probably be a good idea, but I decide to just paint them first and then paint the darker bushes and leaves around them. Later I will add lighter plants and leaves with colored pencils. The plants and trees are inspired by the foliage in medieval tapestries. The entire feel of this piece is a medieval experience told upon a tapestry.
COLOR PUNCH UP STAGE
Once all of the basic colors are in, I attempt to go back and punch up the values as best i can, adding contrast and saturation to everything where I can before the linework stage.
LINEWORK STAGE
We have arrived at the most stressful stage, but ultimately the most satisfying. This is when I discover how strong or weak the likenesses of the characters will become. It is quite satisfying when they look like who they are supposed to be and slightly rotten when they lose their intended likenesses. Some win and some lose, but in the end I am pleased and relieved. I use watercolor for these lines with my Cat’s Tongue brush. I find that Cat’s Tongue brushes have the best thick and thin control for linework. You can get quite thin with a Cat’s Tongue!
CALLING IT DONE!
I go back and punch up the values as much as I can and add any details with colored pencils. At some point i must call it done, but I could potentially noodle until the end of time itself.
SO LET US CALL IT DONE!
Here are the various stages of the piece from rough composition stage to finished painting. As you can see I modified the dimensions of the piece to be wider before printing it out. I wanted to add space to the sides to give the characters room to breath.
AND THAT’S IT!
Thank you for joining me on this trip through these grassy lands. Let us end this post with a timelapse of the entire piece being painted from beginning to end.
Have a wonderful rest of your day!


